Contents
hide
Use case 1 of 2
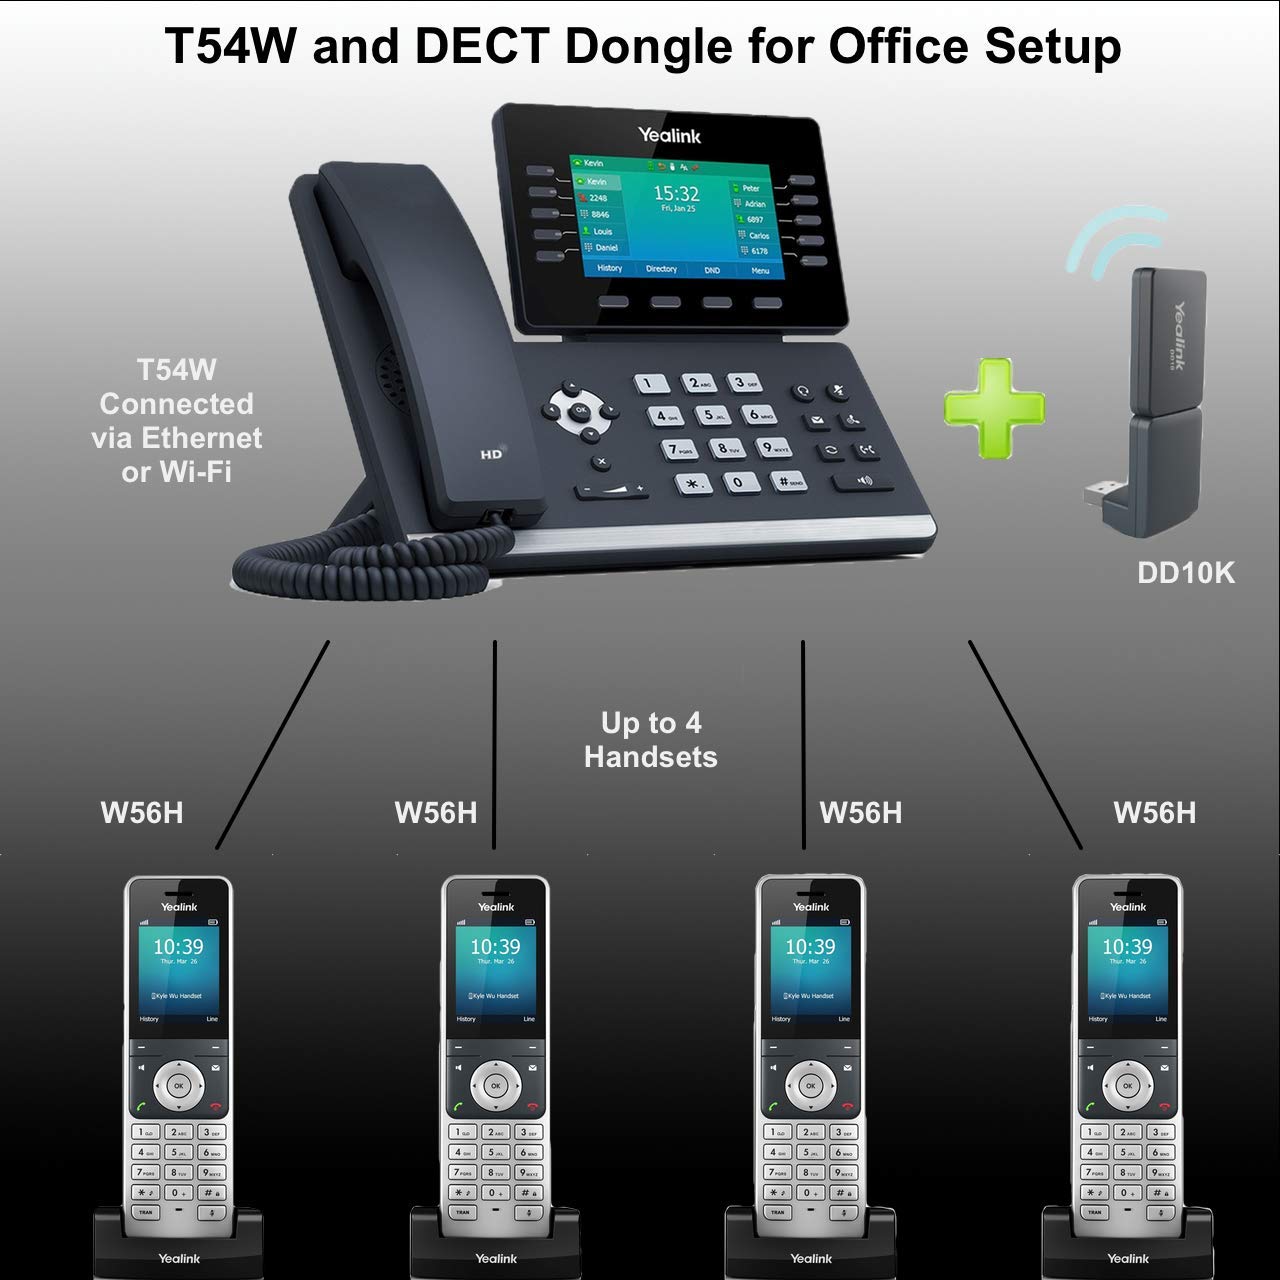
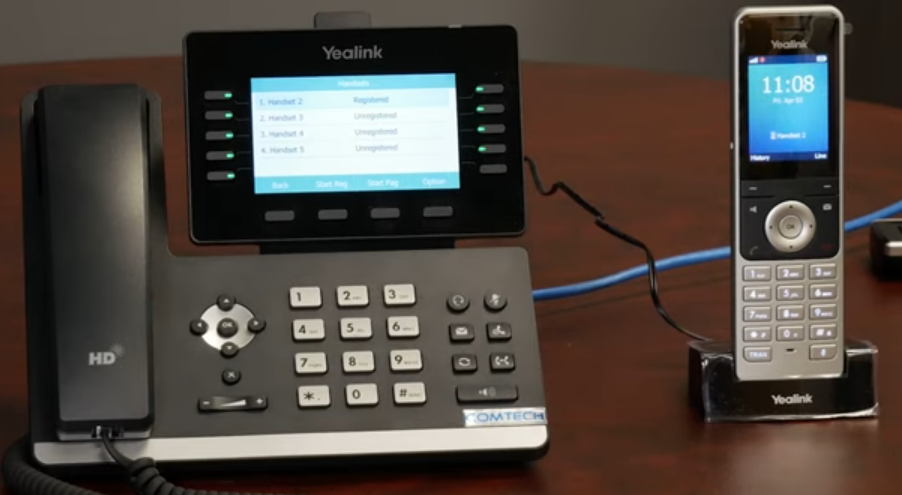
The Yealink DECT dongle DD10K not only enables T41S / T42S / T54W to work concurrently with Yealink DECT system as a handset after pairing with Yealink W60B/W70B/W80B/W90B DECT IP base station., but also enables T53 / T53W / T54W / T57W / T58A / T58W / VP59 to work as a base station, which can be registered with up to 4 compatible Yealink W52H/W56H/W53H/W73H/W78H/W57R/W59R handsets.
Use case 2 of 2
DD10K also enables T53 / T53W / T54W / T57W / T58A / T58W / VP59 to work as a base station, which can be registered with up to 4 compatible Yealink W52H/W56H/W53H/W73H/W78H/W57R/W59R handsets.
Technical instructions
YouTube video
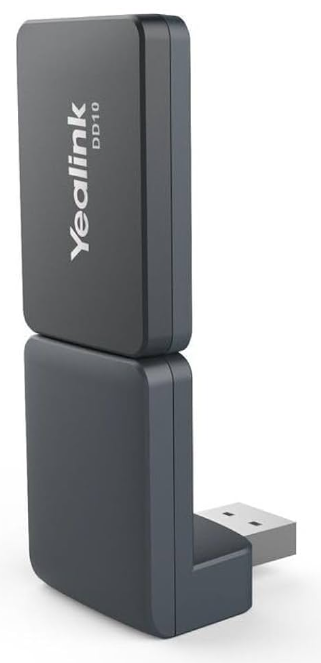
Front
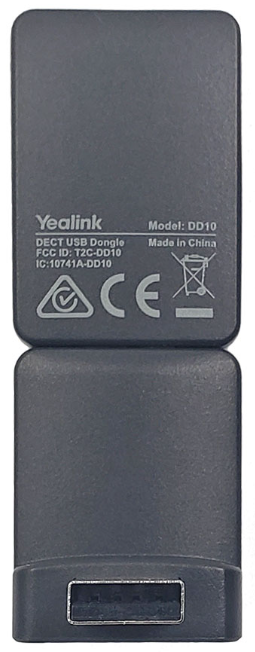
Back
Data sheet – PDF
FAQ
Quick start guide – PDF
T54W compatible – PDF
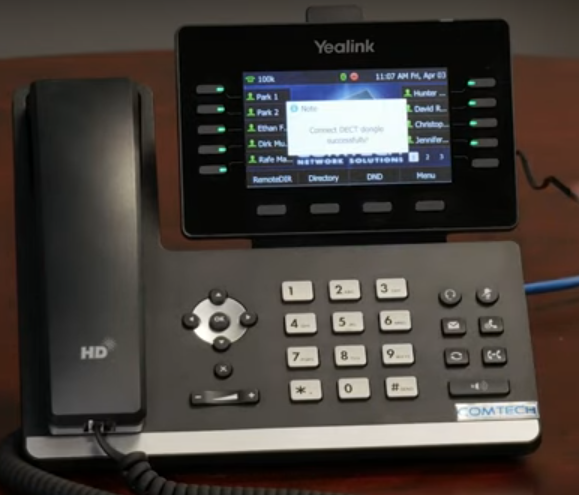
Step 1 – connect and see popup message
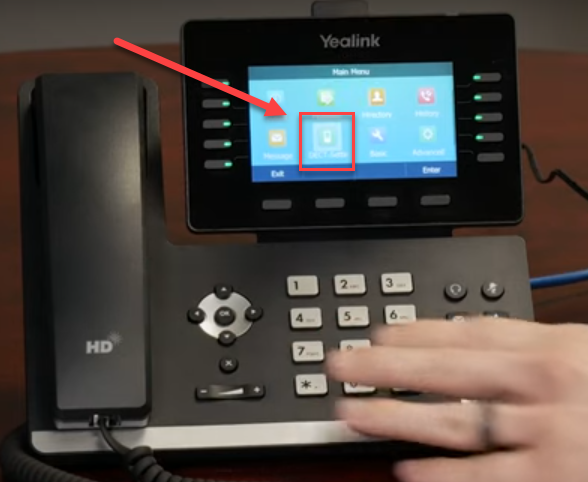
Step 2 – Menu > DECT Setup
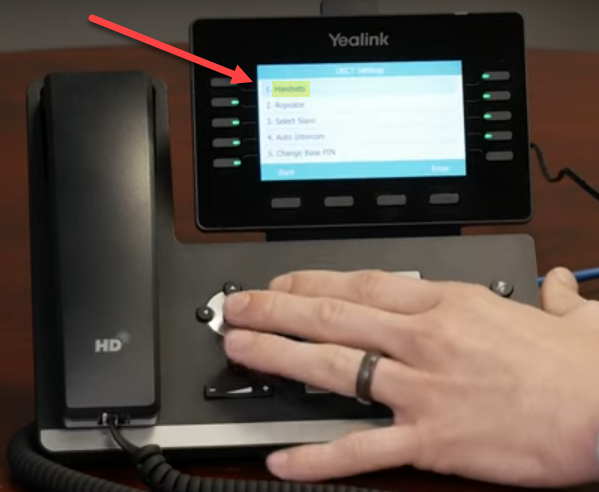
Step 3 – Handsets
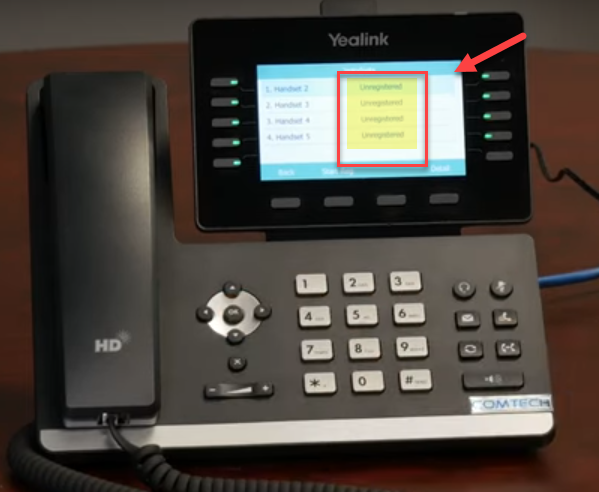
Step 4 – All unregistered
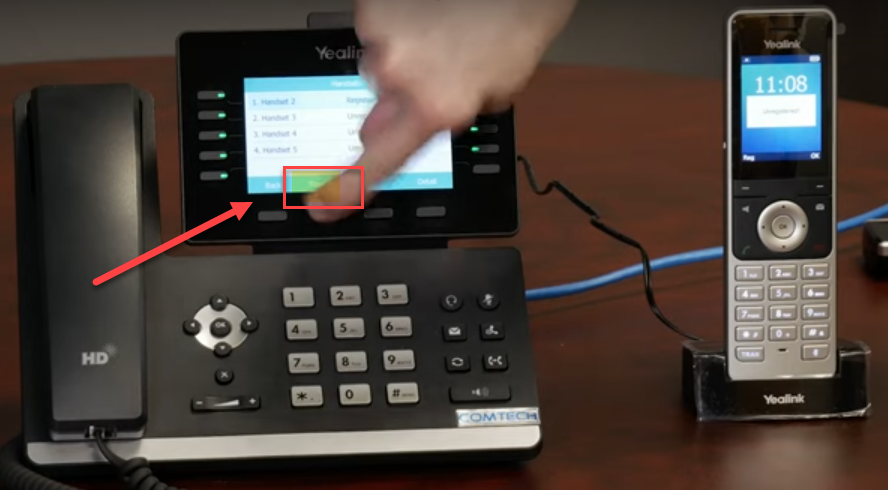
Step 5 – Star Reg to Pair Cordless
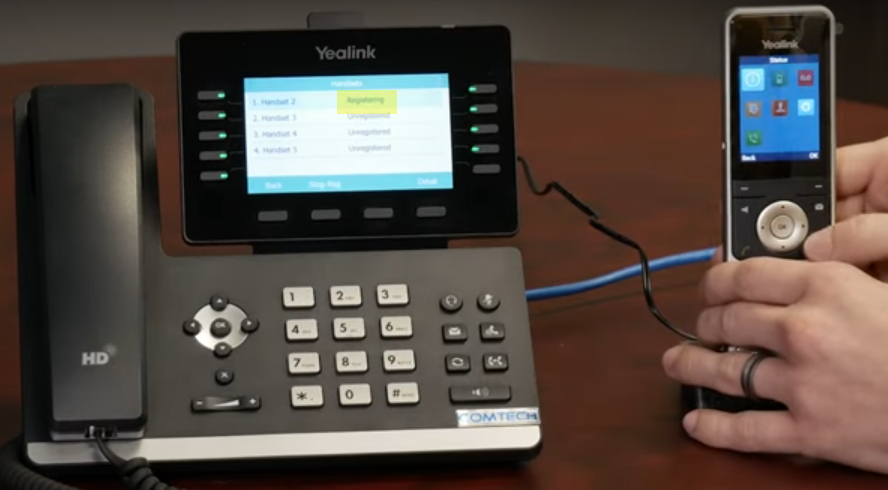
Step 6 – Registering
Step 7 – Reg
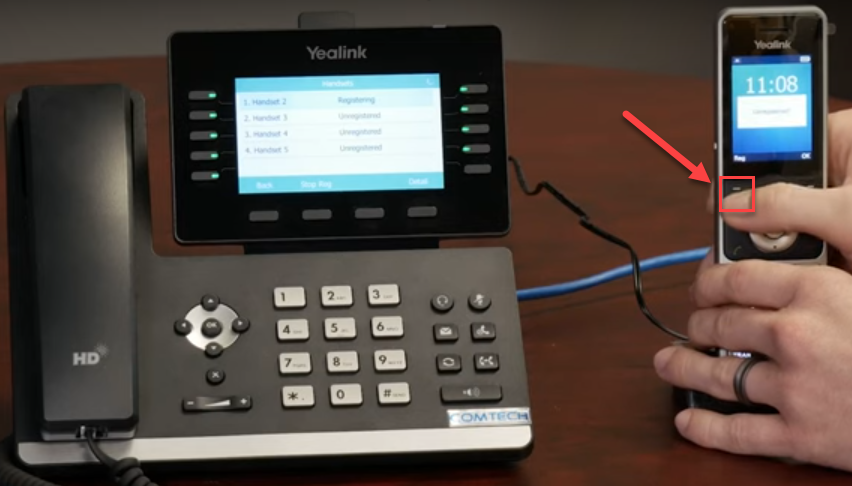
Step 8 – they find eachother
If necessary select the base, also if request a PIN enter 4 zeros (0000)
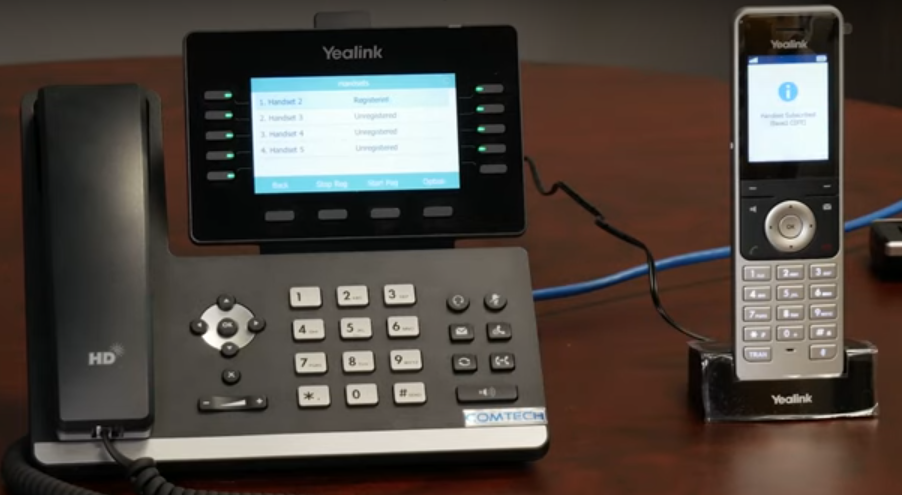
Step 9 – pairing complete
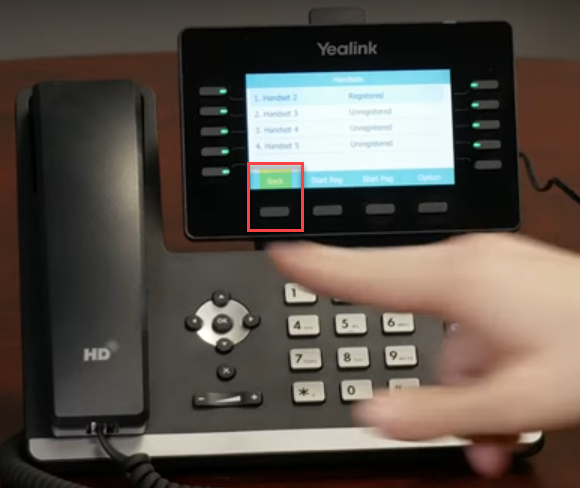
Step 10 – Make them ring together
Hit the Back button
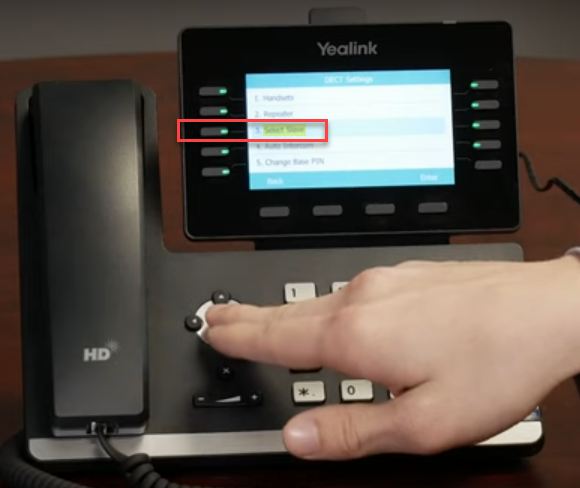
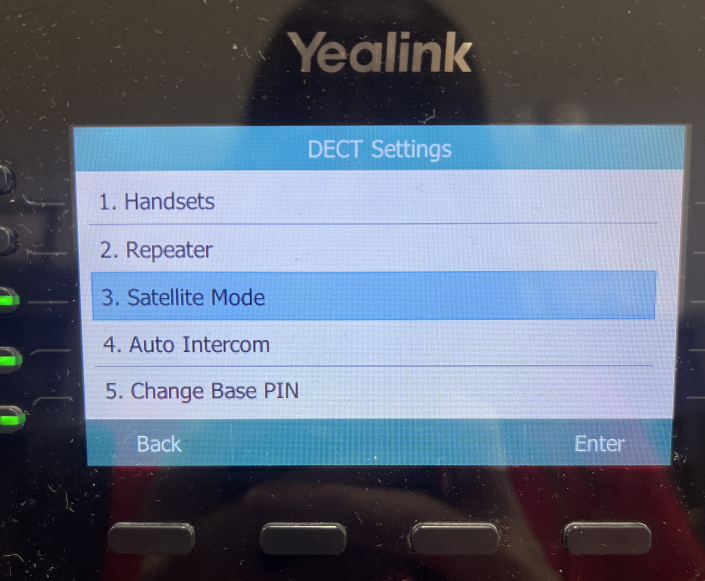
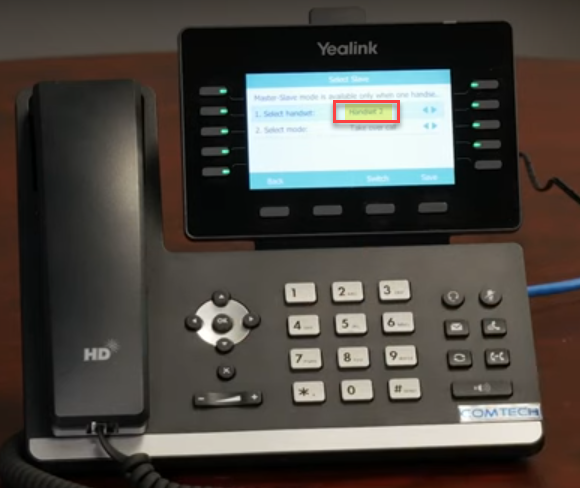
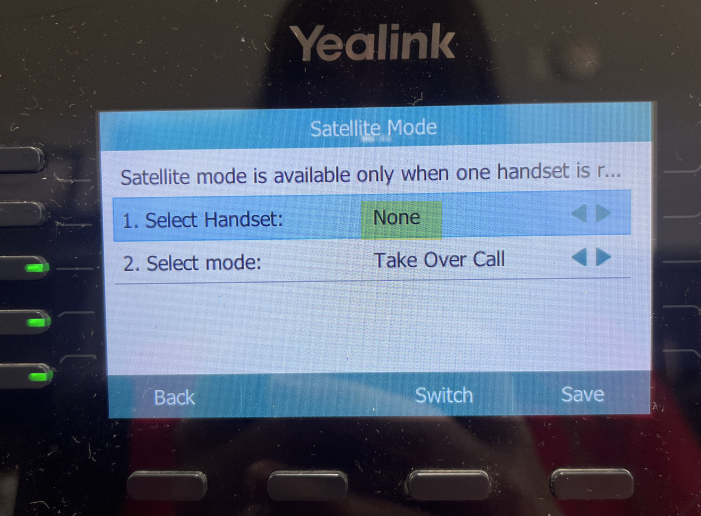
Step 11 – Select Slave (3rd option)
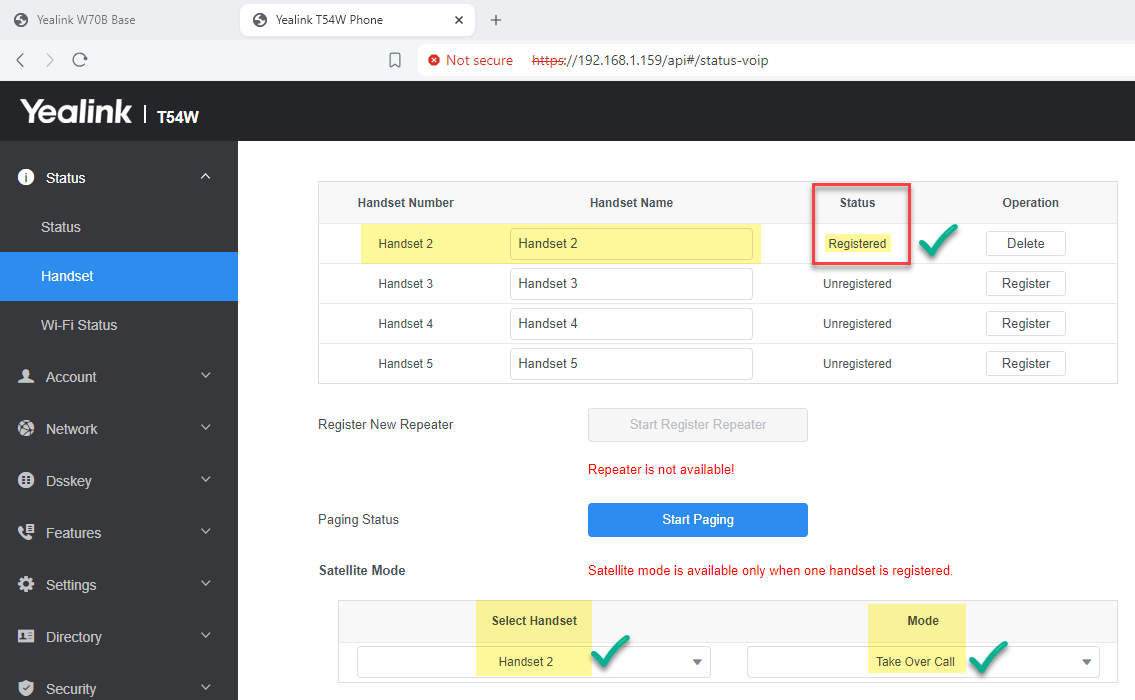
Step 12 – switch from None to Handset2
Hit Save
Handset and Mode can be also set by using the Phone’s web GUI.